The first time I tried growing Black-eyed Susans from seed, I killed approximately 200 of them. Not exaggerating. I scattered an entire packet of seeds in what I thought was “prepared” soil, covered them with an inch of dirt like I was burying treasure, and waited. And waited. Got exactly zero flowers that year.
Turns out those tiny Rudbeckia seeds have opinions. Strong ones. About soil, light, temperature, and especially about being buried alive. My second attempt? Different story. Nearly 100% germination, flowers by midsummer, and now my yard is basically a Black-eyed Susan sanctuary.
Four years and countless Rudbeckia babies later, I’ve finally mastered the art of starting these cheerful flowers from seed. Here’s everything I learned the hard (and expensive) way about soil prep and seed starting that actually works.
The Soil Preparation That Changes Everything
My first mistake was thinking “dirt is dirt.” I grabbed soil from my garden, threw it in seed trays, and wondered why nothing grew. Rudbeckia seeds aren’t picky once established, but baby Rudbeckias? Different story entirely.
The seed-starting mix that actually works:
- 40% fine peat moss or coco coir
- 30% vermiculite
- 30% perlite
- NO actual soil
This mix seems wrong if you’re used to garden soil. It’s light, fluffy, almost substanceless. That’s exactly what tiny seeds need — something they can push through easily.
Why regular potting soil fails: Too dense, holds too much water, often has fertilizer that burns baby roots. I killed my second batch with “premium potting mix” that was too rich. Lesson learned: seeds want poor, sterile conditions to start.
For direct sowing outdoors:
Different game. Here’s what works:
- Remove all weeds (competing seedlings look identical at first)
- Rake soil to fine texture, no big clumps
- Mix in a little sand if you have clay soil
- Level it like you’re creating a putting green
That smooth, fine surface matters because — plot twist — Rudbeckia seeds need light to germinate. My buried seeds never stood a chance.
The Light Requirement Nobody Mentions Clearly
This was my biggest revelation: Rudbeckia seeds need light to germinate. Not “bright location” after planting. Actual light hitting the actual seeds.
What this means practically:
- DON’T cover seeds with soil
- Press them onto surface gently
- Mist to ensure good soil contact
- Maybe sprinkle finest dusting of vermiculite
- Keep surface moist but seeds visible
I spent a whole season wondering why my seeds wouldn’t germinate when they were buried under my loving inch of soil. They weren’t being difficult — they literally couldn’t germinate in darkness.
Indoor Seed Starting: The Method That Works
After my outdoor failures, I moved to indoor starting. Game changer. Here’s my current system:
Timing: 6-8 weeks before last frost. I start mine in early March for May transplanting. Too early = leggy seedlings. Too late = no flowers first year.
Containers: Those cell packs work, but I prefer small pots. More room for roots, less transplant shock. Drainage holes are non-negotiable.
The process that gets 90% germination:
- Fill containers with moist (not soaking) seed mix
- Level surface carefully
- Place 2-3 seeds per cell/pot
- Press gently into surface
- Mist thoroughly
- Cover with plastic dome or bag
- Place under lights immediately
Temperature matters: 70-75°F for best germination. My first batch on a cold windowsill took 3 weeks to sprout. On a heat mat? 4-7 days.
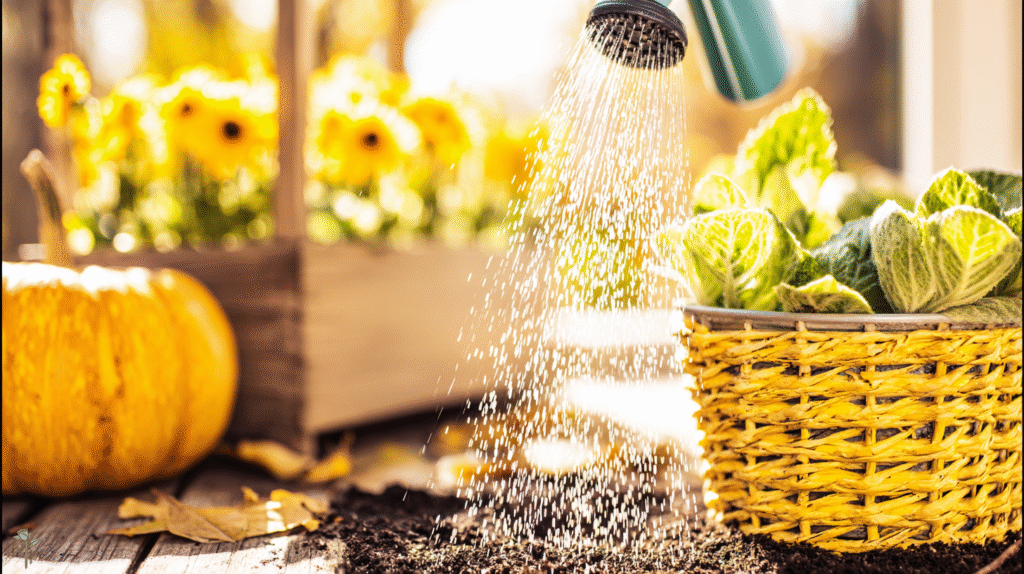
The Watering Dance That Keeps Them Alive
Baby Rudbeckias are drama queens about water. Too much = damping off disease. Too little = crispy death. Finding the balance took practice.
What works:
- Mist daily while germinating
- Remove plastic cover once sprouted
- Water from bottom once true leaves appear
- Let surface dry slightly between waterings
- Never let them completely dry out
I lost an entire tray to damping off disease from overwatering. Heartbreaking. Now I use a spray bottle for precision and have a fan for air circulation. No more fungal disasters.
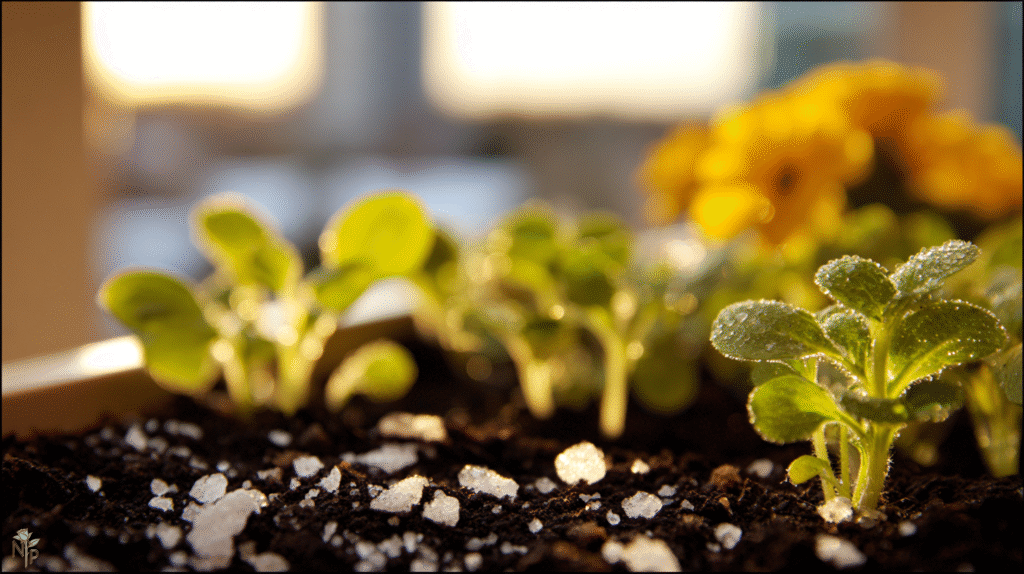
Light Requirements After Germination
Those tiny sprouts need serious light immediately or they stretch like crazy.
Window growing: South window can work but seedlings lean hard. I rotate trays twice daily. Still get some stretching.
Grow lights: Game changer. Basic shop light with cool white bulbs works. Keep 2-3 inches from seedlings, 14-16 hours daily. My seedlings under lights are stocky and strong.
The stretching disaster: My first indoor batch reached 6 inches tall with two tiny leaves. Fell over constantly. Now I know: inadequate light = leggy disasters.
Transplanting Without Tears
Rudbeckia seedlings look tough but transplant shock is real. Here’s what I’ve learned:
When to transplant:
- 2-3 sets of true leaves
- About 3 inches tall
- Roots visible at drainage holes
- After hardening off (crucial!)
Hardening off process: Week 1: 1 hour outside in shade Week 2: Gradually increase time and sun exposure By day 10: Full sun all day
Skipped hardening off once. Fried an entire flat of seedlings in one afternoon. Never again.
Transplanting tips:
- Cloudy day is best
- Water well before and after
- Plant at same depth as in pots
- Space 12-18 inches apart (they get BIG)
- Mulch immediately
Direct Sowing: The Lazy Success Method
After mastering indoor starting, I tried direct sowing again with my new knowledge. Success! Here’s what works:
Timing: After soil warms to 70°F. I wait until May to be safe. Earlier sowings just sit there.
Site prep:
- Choose full sun location
- Prepare soil as described above
- Water area day before sowing
- Morning sowing works best
Sowing process:
- Scatter seeds more densely than you think
- Press into soil with board or hand
- Water with finest mist setting
- Mark area clearly (important!)
- Keep moist until germination
Thinning: Painful but necessary. Thin to 12-18 inches when seedlings have 4 leaves. I transplant extras rather than waste them.
Common Problems I’ve Solved
No germination:
- Seeds too deep (most common)
- Soil too cold
- Seeds too old (test germination first)
Damping off:
- Overwatering
- Poor air circulation
- Non-sterile soil
Leggy seedlings:
- Insufficient light
- Too warm
- Started too early
Slow growth:
- Needs fertilizer after true leaves
- Temperature too low
- Pot-bound
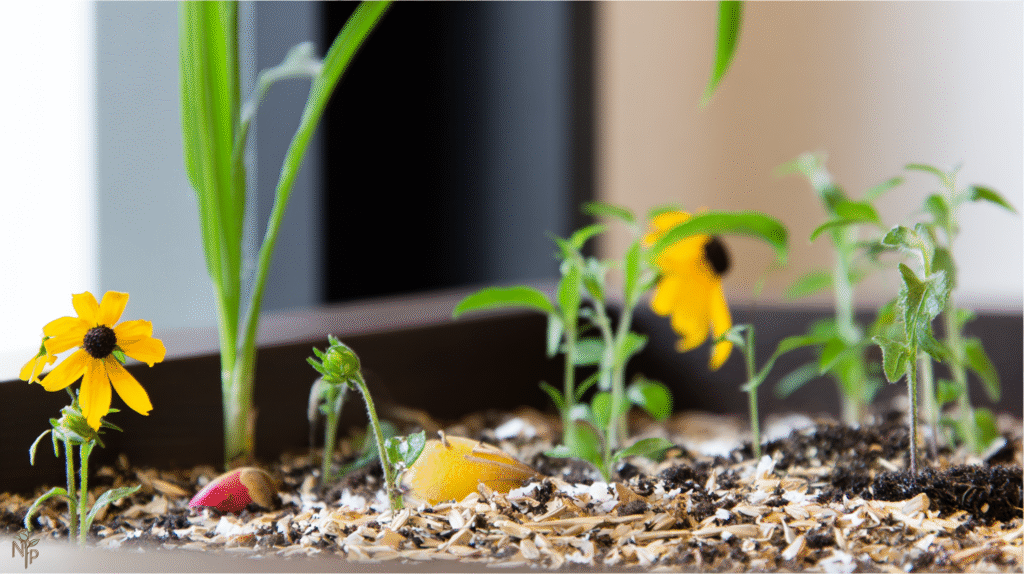
The Timeline That Sets Expectations
Days 1-7: Nothing visible (don’t panic) Days 7-14: Tiny green specks appear Week 3: First true leaves Week 4-6: Rapid growth begins Week 8: Ready to harden off Week 10: Transplant outside Week 16-20: First blooms!
My impatience almost ruined everything multiple times. Now I mark calendars and trust the process.
Why Starting from Seed Is Worth It
Seeds cost $3. Nursery plants cost $8-15 each. My yard needed dozens. Do the math. Plus:
- Variety selection is amazing
- Earlier blooms than direct sowing
- Satisfaction of growing from scratch
- Enough plants to share
- Can try unusual varieties
That failed first packet taught me humility. Now I start hundreds of Rudbeckias annually, supply half the neighborhood, and still have my yard full.
Your Rudbeckia Success Plan
- Buy fresh seeds from reputable source
- Start with proper seed-starting mix (no shortcuts)
- Remember: surface sow with light
- Provide bottom heat and bright light
- Be patient but attentive with watering
- Harden off religiously
- Transplant with care
Those 200 seeds I murdered in year one? I think about them every summer when my yard explodes with Black-eyed Susans. They taught me that even “easy” flowers have specific needs when they’re babies. Respect those needs and you’ll have more Rudbeckias than you know what to do with.
Just remember: don’t bury the seeds. I can’t stress this enough. Surface sow. Let there be light. Your future flower-filled yard depends on it. 🌻