I spent three years wondering why my yarrow looked like sad, floppy lettuce while my neighbor’s stood tall and bloomed like fireworks. Same plants, same zone, completely different results. The difference? She prepared her bed correctly. I just dug a hole and hoped for the best.
Turns out, yarrow (Achillea millefolium) has opinions about its living situation. Strong ones. Give it what it wants during bed prep, and you’ll have a drought-tolerant pollinator magnet that blooms for months. Ignore its preferences, and you’ll get my original yarrow disaster — leggy, sparse, and prone to flopping over every time it rained.
After ripping out my failed yarrow bed and starting over (painful but necessary), I finally have yarrow that makes people stop and ask what it is. Here’s everything I learned about preparing beds that make yarrow thrive instead of just survive.
The Biggest Myth About Yarrow
Everyone says yarrow “grows anywhere” and “thrives on neglect.” This is technically true but completely misleading. Yes, yarrow can survive in terrible conditions. I’ve seen it growing in sidewalk cracks. But there’s a massive difference between yarrow that’s clinging to life and yarrow that’s actually thriving.
My first yarrow bed was in rich, amended soil where I grew vegetables the year before. I figured if tomatoes loved it, yarrow would too. Wrong. So wrong. That yarrow grew 4 feet tall, flopped constantly, barely bloomed, and attracted more aphids than pollinators.
The truth: Yarrow wants lean, well-draining soil. Not poor soil necessarily, but definitely not rich. Think Mediterranean herbs, not vegetable garden.
Choosing the Right Location (It’s Not Just About Sun)
Yes, yarrow wants full sun. But location involves more than just counting sunny hours.
What actually matters:
- Air circulation (prevents powdery mildew)
- Natural drainage (slope is your friend)
- Room to spread (yarrow gonna yarrow)
- Away from irrigation systems
- Not where water collects
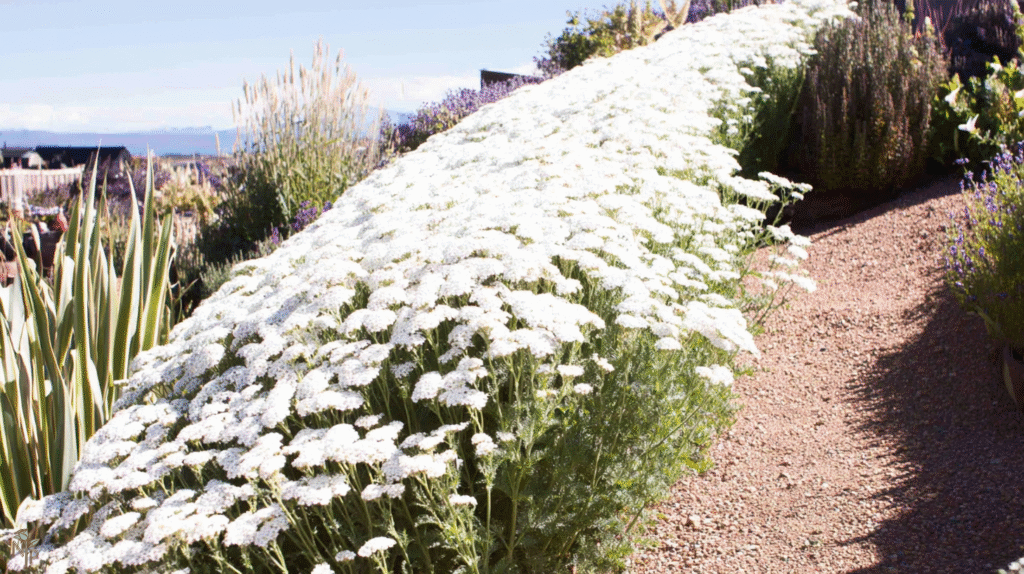
My successful yarrow bed is on a slight slope that used to be a problem area — too dry for most plants, terrible clay soil, baking afternoon sun. Previous attempts to grow anything there failed. The yarrow? Thinks it’s paradise.
My location disasters:
- Low spot where water pooled = root rot
- Against the fence with no airflow = mildew city
- Under the sprinkler zone = too lush, no flowers
- Partial shade = stretched stems, few blooms
Soil Preparation: Less Is Actually More
This goes against every gardening instinct, but yarrow performs better in unamended soil. My vegetable-garden-rich soil produced yarrow that needed staking. My “bad” soil produces sturdy, floriferous plants.
The ideal yarrow soil:
- Well-draining above all else
- Lean to average fertility
- Slightly alkaline (pH 6.5-7.5)
- Sandy or gravelly is perfect
My soil prep method that actually works:
For clay soil (my nemesis):
- Don’t add compost (I know, it hurts)
- Work in coarse sand and pea gravel
- Create raised beds if drainage is poor
- That’s literally it
For sandy soil:
- You lucky duck, do almost nothing
- Maybe add a tiny bit of compost
- Mostly just remove weeds
For “good” garden soil:
- Add sand or perlite to increase drainage
- No fertilizer or amendments
- Consider mixing in some gravel
The Bed Preparation Process
Step 1: Clear the area
Remove all weeds, especially perennial ones. Yarrow is tough but not “outcompete established quackgrass” tough. I learned this the hard way and spent a summer pulling grass from my yarrow patch.
Step 2: Test your drainage
Dig a hole 12 inches deep, fill with water. If it doesn’t drain within a few hours, you need to improve drainage or build raised beds. My first bed failed this test miserably.
Step 3: Loosen soil (but don’t go crazy)
Yarrow has deep roots but doesn’t need deeply tilled soil. I just fork it over to about 8-10 inches. No need for the full double-dig treatment.
Step 4: Amend only if necessary
- Clay soil: Add coarse sand and gravel
- Compacted soil: Add perlite or pumice
- Very acidic soil: Add lime
- Perfect soil: Leave it alone!
Step 5: Level and wait
Level the bed and let it settle for a few days. Plant when soil is dry, not muddy. Yarrow hates being planted in wet soil.
Spacing: The Mistake Everyone Makes
Plant tags say 12-18 inches apart. This assumes yarrow stays in neat clumps. Reality check: yarrow spreads via rhizomes and self-seeding. Those tiny plants become thick patches within two years.
Realistic spacing:
- 24-30 inches for contained look
- 18 inches if you want quick coverage
- 36 inches for specimen plants
- Factor in spreading nature
My first bed had yarrow planted 12 inches apart. By year two, it was an impenetrable jungle. Now I space at 24-30 inches and let them fill in naturally.
The Mulch Debate
Traditional gardening says mulch everything. Yarrow says “meh.”
My mulch experiments:
- Wood mulch: Held too much moisture, caused crown rot
- No mulch: Worked but looked messy
- Gravel mulch: Perfect! Drainage plus weed suppression
- Rock mulch: Also excellent
I now use pea gravel or decomposed granite around yarrow. Looks neat, improves drainage, and yarrow seems to love the reflected heat.
Preparing Beds for Different Yarrow Types
Common yarrow (wild type): Least picky, prep basic bed as described. Will literally grow in rubble.
Cultivated varieties (‘Moonshine’, ‘Paprika’, etc.): Slightly fussier, ensure excellent drainage. May need staking in rich soil.
Fernleaf yarrow: Wants the leanest soil possible. I grow mine in basically gravel with a sprinkle of soil.
Woolly yarrow: Needs perfect drainage or will rot. Raised bed or rock garden ideal.
Integration with Other Plants
Yarrow plays well with others if you plan ahead:
Good companions:
- Lavender (similar needs)
- Salvias (drainage lovers)
- Ornamental grasses (nice contrast)
- Echinacea (pollinator paradise)
Avoid planting with:
- Moisture lovers (astilbe, ferns)
- Heavy feeders (roses, dahlias)
- Spreading groundcovers (yarrow needs space)
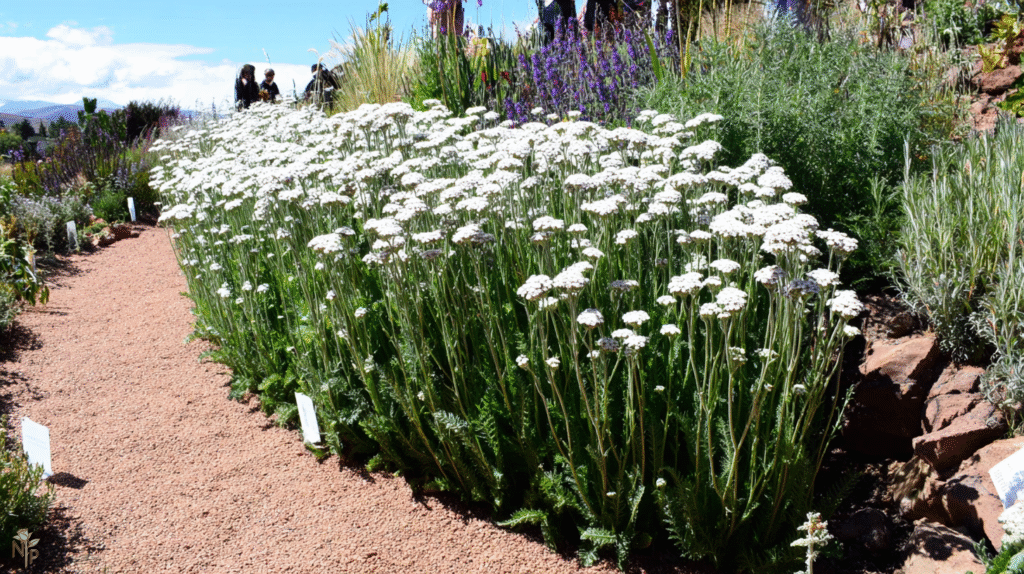
My mixed border has yarrow with lavender and Russian sage. Same bed prep works for all, and they look fantastic together.
The First-Year Reality
Even with perfect bed prep, first-year yarrow often disappoints. Mine looked sparse and barely bloomed. I almost gave up. Year two? Explosion of growth and flowers. Year three? I’m dividing and sharing with neighbors.
First year expectations:
- Focus on root establishment
- Few flowers (normal!)
- May look wimpy
- Don’t overfeed trying to “help”
What not to do:
- Fertilize (creates lush growth, few flowers)
- Overwater (encourages rot)
- Panic about sparse appearance
- Move them around
Maintenance After Bed Prep
Good bed prep means minimal maintenance:
Year 1: Water during extreme drought only Year 2+: Basically ignore except for deadheading Every 3-4 years: Divide if getting too thick
That’s it. My properly prepped yarrow bed requires less work than my lawn.
Signs Your Bed Prep Worked
Success indicators:
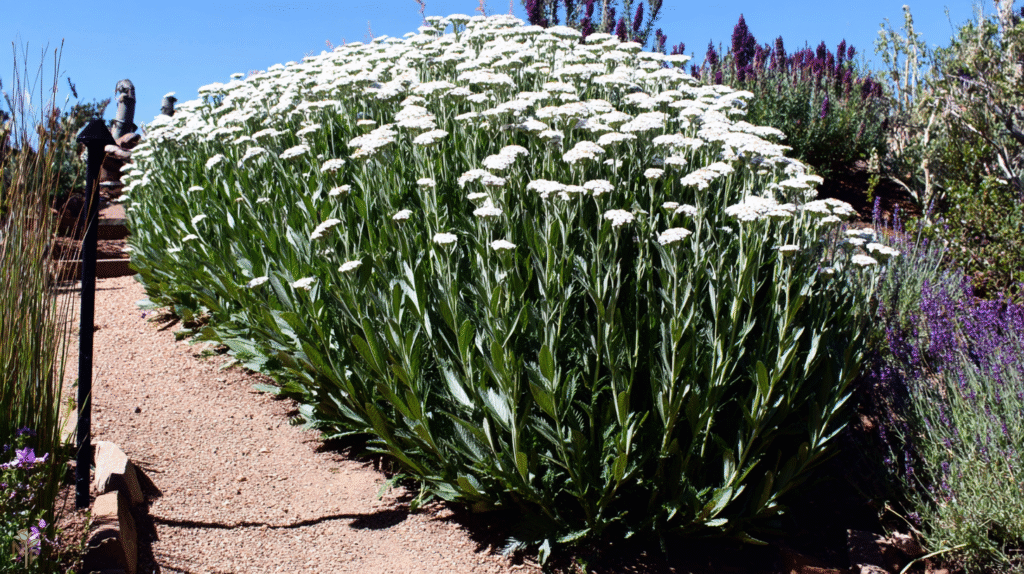
- Sturdy stems that don’t flop
- Abundant flowers
- Healthy spread without aggression
- No disease issues
- Survives winter without protection
Failure signs:
- Constant flopping (too rich)
- Few flowers (too much nitrogen)
- Root rot (poor drainage)
- Excessive spreading (might be too happy)
The Bottom Line
That first failed yarrow bed taught me that “easy” plants still have preferences. Yarrow doesn’t want to be pampered — it wants well-draining, lean soil and room to do its thing. Fight this natural preference with rich soil and fertilizer, and you’ll get my original disaster.
My current yarrow bed, prepared with basically hostile conditions by normal gardening standards, produces stunning displays from June through September. The pollinators are happy, I’m happy, and the yarrow is finally living its best life.
Skip the soil amendments, embrace the gravel, and give yarrow what it actually wants — tough love from the start. Your future self (and local bee population) will thank you. 🌼