My first aloe vera plant was supposed to be foolproof. “You can’t kill it!” my friend said, handing me a small pot with three stubby leaves. “Just water it sometimes and forget about it.”
Six weeks later, I was googling “why is my aloe vera turning brown and mushy” while staring at what looked like green-brown pudding in a pot. Turns out, “watering sometimes” meant something very different to me than what aloe actually needed.
Four years and seven aloe plants later (RIP to the first three), I finally understand these supposed “unkillable” succulents. They’re not difficult — they just have very specific opinions about water, light, and soil that nobody bothered to explain clearly. Here’s everything I wish someone had told me when I started.
The Watering Truth That Changes Everything
Let’s start with what kills most aloes: watering like they’re regular houseplants. My “sometimes” watering meant every few days when I remembered. For aloe? That’s a death sentence.
What aloe actually wants:
- Completely dry soil between waterings
- Deep watering when you do water
- Way less frequent than you think
- Seasonal adjustments that matter
My current watering reality:
- Summer: Every 2-3 weeks
- Winter: Every 4-6 weeks (or longer)
- Spring/Fall: Every 3-4 weeks
The game-changer was learning the “weight test.” Pick up your pot when newly watered. Heavy, right? Now pick it up when you think it needs water. Still heavy? Wait. Only water when it feels surprisingly light.
Signs you’re overwatering:
- Leaves turn brown/yellow from base up
- Soft, mushy texture
- Translucent appearance
- Whole leaves falling off
- Funky smell from soil
My first aloe showed all these signs. I thought more water would help. Spoiler: it didn’t.
Light Requirements: More Specific Than “Bright Light”
Every care guide says “bright, indirect light” like that means something universal. Here’s what actually works:
Too little light:
- Leaves stretch and bend toward window
- Pale green color
- Slow or no growth
- Wide spacing between leaves
Too much direct sun:
- Brown or red-tinged leaves
- Dry, crispy tips
- Sunburn spots (yes, really)
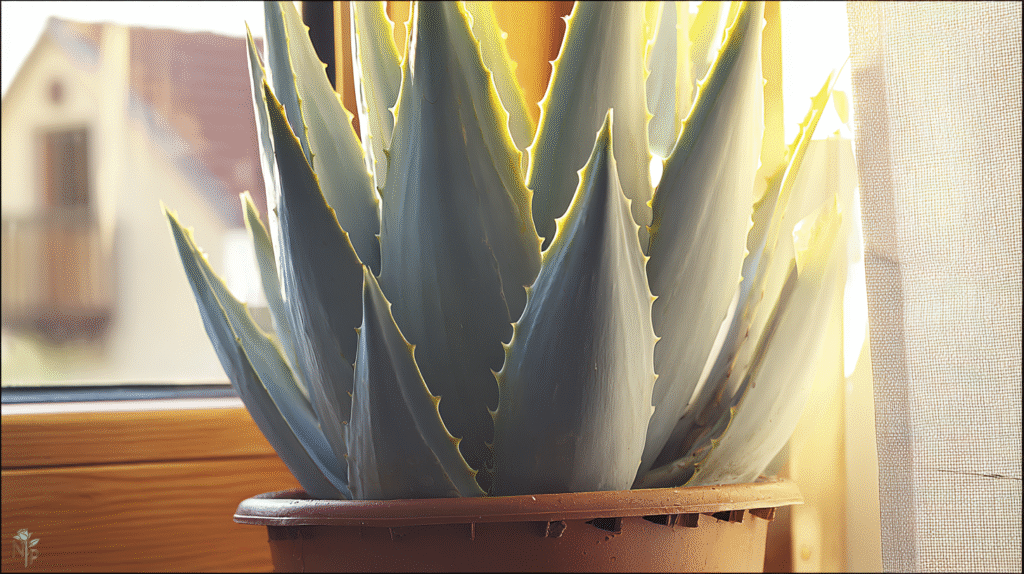
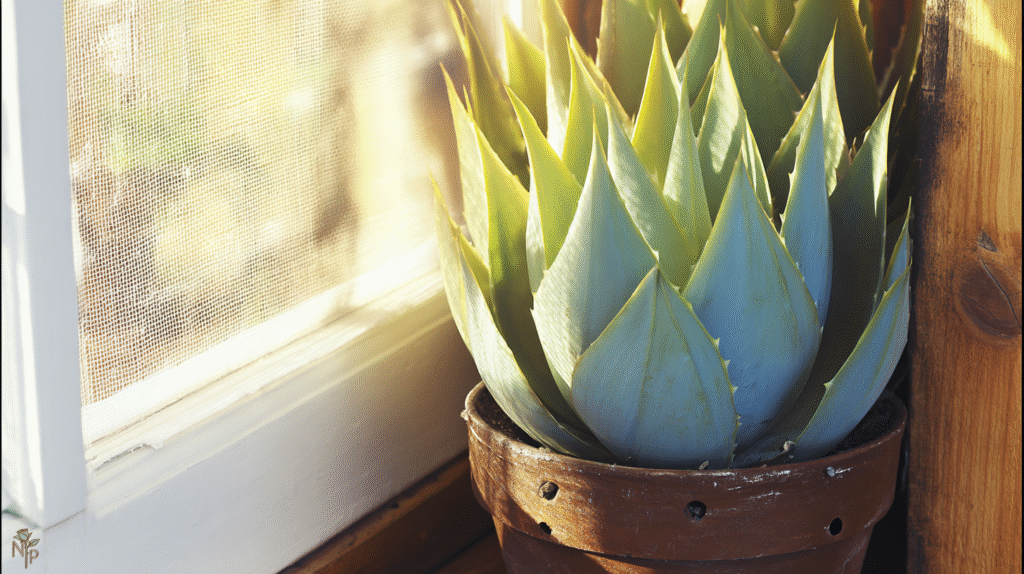
Just right:
- Compact growth
- Blue-green color
- Plump, upright leaves
- Steady new growth from center
My aloe lives 2 feet from a south-facing window with sheer curtains. Direct morning sun for 2-3 hours, bright indirect the rest. The difference from my original dark corner placement? Night and day.
The Soil Secret Nobody Emphasizes Enough
Regular potting soil holds too much moisture for aloe. Using it is like making aloe wear a wet sweater constantly — uncomfortable and eventually deadly.
My aloe soil mix that actually works:
- 1/3 cactus potting mix
- 1/3 perlite
- 1/3 coarse sand
This drains fast and dries quickly. Yes, it seems too gritty. That’s the point. Aloe evolved in arid conditions, not rainforests.
Container must-haves:
- Drainage holes (non-negotiable)
- Terra cotta pot (breathable, dries faster)
- Not too big (aloe likes being slightly cramped)
That cute ceramic pot with no drainage? That’s an aloe coffin. Learned this the expensive way.
Temperature: The Overlooked Factor
Aloe vera is tougher than most houseplants but has temperature preferences:
Happy range: 55-80°F (13-27°C)
What I learned the hard way:
- Below 50°F = damage starts
- Sudden temperature changes = stress
- Hot + wet = root rot paradise
- Cool + dry = totally fine
My aloe near the drafty window in winter developed weird spots. Moved to stable-temperature spot, problem solved.
Propagation: Free Plants Forever
Once you stop killing aloes, they reward you with babies (pups). Here’s what actually works:
When to separate pups:
- At least 3-4 inches tall
- Have own root system
- Parent plant is healthy
My successful method:
- Water parent plant 2 days before (easier removal)
- Unpot entire plant
- Gently separate pup with roots
- Let cuts dry for 24 hours
- Plant in dry soil
- Wait a week before first watering
Success rate: 90% when I’m patient, 40% when I rush.
Common Problems and Real Solutions
Brown tips:
- Usually underwatering or fluoride in tap water
- Solution: Use filtered water, water more deeply
Leaves lying flat:
- Not enough light
- Solution: Gradually move to brighter spot
Thin, curled leaves:
- Desperately thirsty
- Solution: Water thoroughly, should plump up within days
White powder/sticky substance:
- Mealybugs or scale insects
- Solution: Rubbing alcohol on cotton swab
No growth:
- Normal in winter or needs repotting
- Solution: Wait for spring or check roots
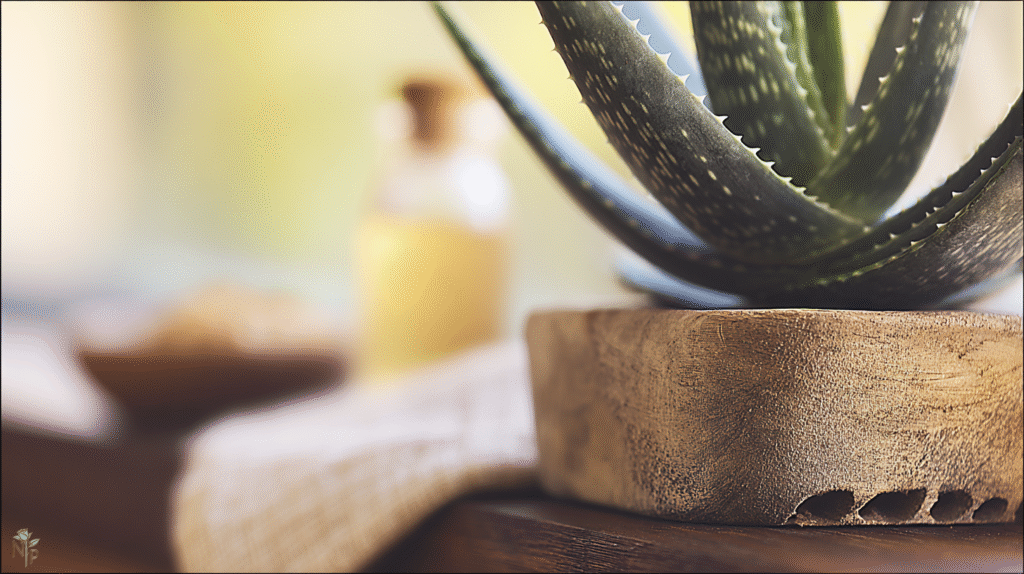
Using Your Aloe (The Fun Part)
After keeping aloe alive, you get to use it! Here’s what I’ve learned:
Harvesting leaves:
- Take outer leaves only
- Cut at base with clean knife
- Plant needs 7-8 leaves minimum to stay healthy
Getting the gel:
- Wash leaf thoroughly
- Slice off spiky edges
- Fillet like a fish
- Scoop out clear gel
What I use it for:
- Sunburn relief (immediate cooling)
- Minor kitchen burns
- Dry skin patches
- Hair mask ingredient
Fresh aloe gel is completely different from store-bought — more potent, no additives, actually works.
Repotting Without Drama
Aloe doesn’t need frequent repotting. Mine gets repotted every 2-3 years, and only when:
- Pups are overcrowding
- Roots circle the drainage holes
- Top-heavy and tipping over
- Soil is exhausted
Repotting tips that work:
- Spring is best timing
- Only go up one pot size
- Use fresh, dry soil
- Don’t water for a week after
The Seasonal Care Adjustments
Spring: Growth season starts. Increase watering slightly, can fertilize lightly (though I rarely do).
Summer: Peak growing. Watch for thirst, might need more frequent water. Protect from intense afternoon sun.
Fall: Slow down everything. Reduce watering, stop any fertilizing.
Winter: Dormancy time. Water sparingly, keep warm, don’t panic about no growth.
Understanding these cycles stopped me from overwatering in winter (aloe death sentence #2).
Why My Aloes Finally Thrived
The breakthrough came when I stopped treating aloe like a houseplant and started treating it like the desert succulent it is:
- Less water than seems reasonable
- More light than most houseplants
- Grittier soil than feels right
- Warmer spot than the drafty sill
- Patience with slow growth
My current aloe is three years old, has produced six pups (shared with friends), and provides fresh gel whenever needed. The leaves are plump, upright, and that perfect blue-green color.
Your Aloe Success Checklist
✓ Terra cotta pot with drainage
✓ Gritty, fast-draining soil
✓ Bright spot (some direct sun okay)
✓ Water only when soil is bone dry
✓ Check weight, not calendar
✓ Keep above 50°F
✓ Harvest outer leaves only
✓ Separate pups when ready
✓ Adjust care seasonally
The Bottom Line
That first mushy aloe taught me that “easy care” doesn’t mean “no care.” Aloe vera has specific needs — it just happens to communicate them clearly once you know what to look for.
My friend who gave me that first doomed aloe? She still has the parent plant, now massive and surrounded by pups. The difference wasn’t plant genetics — it was understanding what “water sometimes” actually meant to an aloe.
Start with one aloe. Keep it alive for six months before getting more. Learn its weight, watch its color changes, respect its desert nature. Soon you’ll have more aloe than you know what to do with, and burns will never be a problem again.
Just remember: when in doubt, don’t water. Your aloe would rather be thirsty than soggy. Trust me — I’ve got three dead aloes in my past to prove it. 🌿