I’ll never forget the first time I tried growing Black-eyed Susans from seed. Scattered an entire packet in my garden, covered them with an inch of soil, and waited. And waited. Got exactly zero flowers that year. Turns out those tiny seeds need light to germinate – something the packet failed to mention clearly.
Four years and many packets of seeds later, I now have Black-eyed Susans popping up everywhere. They self-seed so enthusiastically that I’m giving away seedlings by the bucketful. But getting to this point took some spectacular failures and finally learning what these cheerful flowers actually need.
Why I Fell Hard for Black-Eyed Susans
After struggling with fussy perennials that demanded perfect soil and constant attention, discovering Rudbeckia hirta felt like finding the holy grail of lazy gardening. These tough-as-nails flowers:
- Bloom from June until frost kills them
- Laugh at drought once established
- Attract every pollinator in the neighborhood
- Self-seed like champions
- Look amazing in bouquets
- Thrive in my clay soil nightmare
My neighbor calls them “weeds with better PR,” but when something blooms for five months straight with zero fertilizer, I call it perfect.
Starting from Seed: What Actually Works
Here’s where I screwed up initially and what I do now:
Indoor Starting (My Preferred Method):
- Start 6-8 weeks before last frost
- Use seed starting mix, not potting soil
- Barely cover seeds – they need light!
- Keep at 70-75°F for best germination
- Expect sprouts in 7-14 days
Direct Sowing (The Lazy Way):
- Wait until soil warms to 70°F
- Scratch soil surface, scatter seeds
- Press down but don’t cover
- Keep moist until germination
- Thin to 12-18 inches apart
I’ve had way better success starting indoors. Direct sowing works, but birds ate half my seeds and rain washed away others. Indoor starting gives me actual control.

The Light Thing Nobody Explains Properly
Those tiny Rudbeckia seeds need light to germinate. Not “a little light” – actual light exposure. Here’s what works:
- Press seeds onto soil surface
- Mist gently to ensure contact
- Cover with clear plastic (not soil!)
- Place under grow lights or bright window
- Remove plastic once sprouted
I killed my first three attempts by burying seeds like tomatoes. Once I learned about the light requirement, germination went from 0% to about 80%.
Soil Prep: Easier Than You Think
Everyone says Black-eyed Susans “tolerate poor soil.” What they mean is they won’t die in poor soil, but they’ll absolutely explode in decent soil. My approach:
For average soil:
- Add 2 inches of compost
- Mix in some perlite for drainage
- That’s literally it
For clay soil (my curse):
- Add 3-4 inches of compost
- Work in coarse sand (not fine)
- Consider raised beds
For sandy soil:
- Add compost for water retention
- Mulch heavily after planting
The first year I amended my clay soil properly, my Black-eyed Susans went from 2 feet tall to 4 feet monsters. Tolerating poor soil doesn’t mean they prefer it.
Transplanting Without Drama
Lost a flat of seedlings to transplant shock before learning these tricks:
Timing is everything:
- Harden off for a week first
- Transplant on cloudy days
- Evening is better than morning
- Water immediately after
The root secret: Black-eyed Susans hate root disturbance. I now:
- Use biodegradable pots when possible
- Transplant when small (2-3 true leaves)
- Handle by leaves, never stems
- Plant slightly deeper than growing
Spacing reality:
Packets say 12-18 inches. In rich soil, go with 18-24 inches. Trust me – mine planted at 12 inches became an impenetrable jungle by August.
First Year Care: Setting Them Up for Success
Year one is about establishment. Here’s what actually matters:
Watering:
- Keep consistently moist (not soaked) first month
- Deep water weekly after that
- By midsummer, they’re drought-tolerant
- Overwatering kills more than drought
Feeding:
Skip it. Seriously. I fertilized my first batch and got massive plants with weak stems that flopped everywhere. Now I add compost at planting and nothing else.
Deadheading:
First year, I deadhead regularly to encourage more blooms and stronger roots. Pinch spent flowers every few days. It’s tedious but worth it.
Support:
In rich soil or shady spots, they might need staking. I use grow-through supports placed early. Bamboo stakes work too.

The Mistakes That Cost Me
The Mulch Disaster: Mulched right up to stems, caused crown rot. Now I leave a 2-inch ring around each plant.
The Fertilizer Fiasco: High nitrogen fertilizer = giant floppy plants with few flowers. Learned this the hard way.
The Spacing Situation: Packed them too close trying to get instant impact. Created a fungal paradise. Now I space properly and practice patience.
The Water Wars: Overhead watering promoted powdery mildew. Switched to drip irrigation and soaker hoses. Problem solved.
Varieties That Actually Perform
I’ve grown dozen of varieties. Here are the winners:
‘Cherokee Sunset’:
- Warm colors from yellow to bronze
- 24-30 inches tall
- My absolute favorite
- Incredible fall colors
‘Prairie Sun’:
- Yellow petals with green centers
- More unique than typical black centers
- 30 inches tall
- Slightly less tough than others
‘Goldilocks’:
- Dwarf variety, 15 inches
- Perfect for containers
- Blooms itself to death
- Great for small spaces
Standard ‘Gloriosa Daisy’ Mix:
- What I started with
- Reliable and cheap
- Various colors and sizes
- Best for beginners
Pest and Disease Reality
Black-eyed Susans are tough, but not invincible:
Powdery Mildew: My biggest issue in humid summers. I now:
- Space properly for air flow
- Water at soil level
- Remove affected leaves immediately
- Spray with baking soda solution if bad
Aphids: Show up in spring on tender growth. Blast off with hose or use insecticidal soap.
Goldfinches: Not a pest, but they’ll destroy seed heads in fall. I leave some for them and cover others with mesh bags to save seeds.
Collecting and Saving Seeds
This is where Black-eyed Susans really shine. Free plants forever:
When to collect:
- Wait until seed heads are completely brown
- Seeds should be dark and hard
- Usually September-October
- Dry day is best
How to collect:
- Cut entire seed heads
- Place in paper bags
- Shake to release seeds
- Screen out chaff
- Store in cool, dry place
Germination notes:
Fresh seeds germinate best. I’ve had 3-year-old seeds sprout, but rates drop significantly.
The Self-Seeding Situation
Fair warning: Black-eyed Susans self-seed enthusiastically. What starts as three plants becomes thirty. You’ll either love this or spend springs pulling seedlings.
I let them self-seed in certain areas and deadhead religiously in others. The seedlings are easy to identify and transplant when small. My neighbors all have Black-eyed Susans now because I can’t throw away perfectly good seedlings.
Combining with Other Plants
Through trial and error, these combinations work beautifully:
For a prairie look:
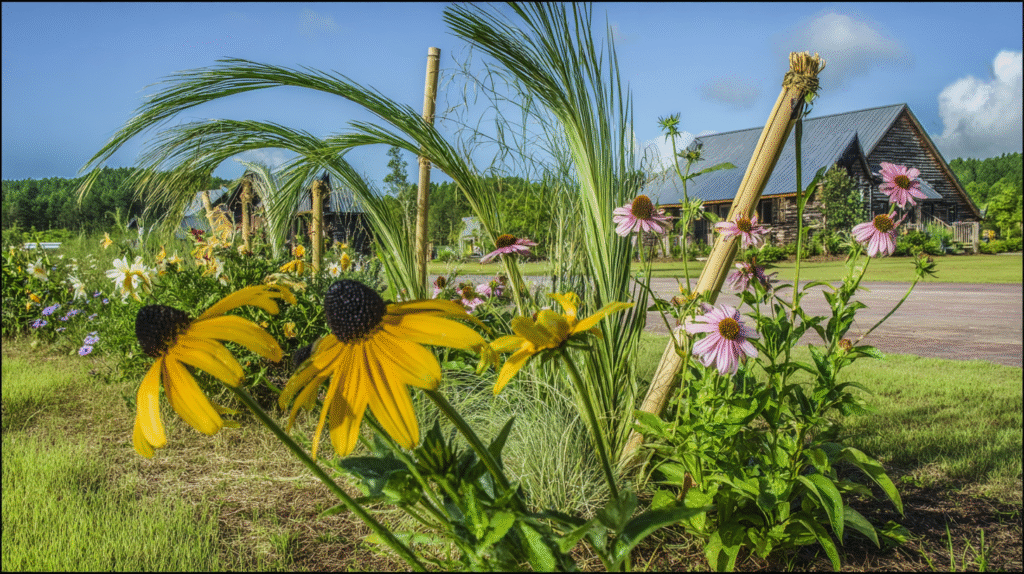
- Purple coneflowers
- Ornamental grasses
- Wild bergamot
- Little bluestem
For a cottage garden:
- Shasta daisies
- Purple salvia
- Russian sage
- Garden phlox
For a cutting garden:
- Zinnias
- Celosia
- Marigolds
- Cosmos

The Bottom Line on Growing Black-Eyed Susans
Four years ago, I couldn’t get a single seed to germinate. Now I have a golden river of Black-eyed Susans that blooms from June to October, feeds countless pollinators, and provides armloads of cut flowers.
The secret wasn’t complicated – just understanding those tiny seeds need light and giving established plants room to shine. Start with fresh seeds, don’t bury them, keep them moist until established, then basically ignore them.
These aren’t fussy aristocrat flowers. They’re working-class heroes that show up, do their job, and spread joy without demanding much in return. In a world of high-maintenance plants, Black-eyed Susans are refreshingly straightforward.
Start one packet of seeds this spring. By next summer, you’ll have flowers. By the following year, you’ll be giving away seedlings. And somewhere around year three, like me, you’ll wonder why anyone grows anything else. 🌻


